How to Crop and Resize Visuals with an Advanced Image Cropper
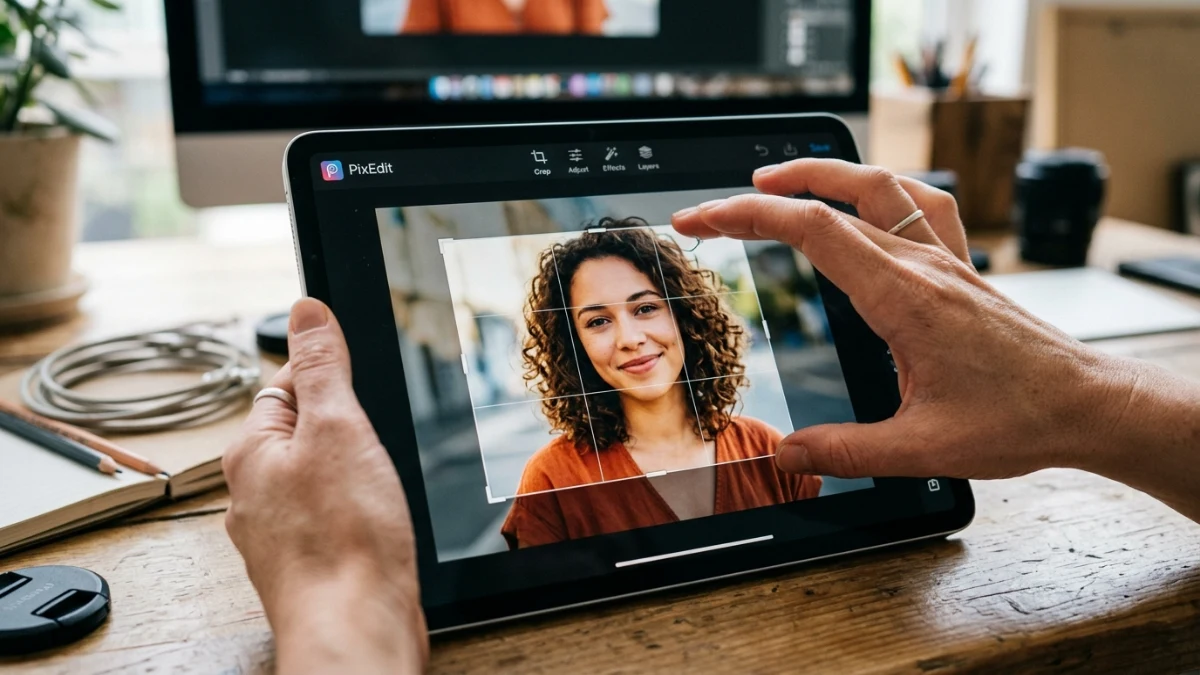
When preparing visual assets for production websites or social media platforms, developers and content creators frequently struggle with maintaining the correct aspect ratio while scaling images. A standard cropping utility might let you select a region, but it often leaves you with pixelated, poorly scaled outputs. This is where an advanced image cropper becomes an essential addition to your digital toolkit, enabling you to refine your media boundaries and configure output dimensions in a single step with zero quality degradation.
Maintaining visual consistency across a website is not just a cosmetic preference; it is a technical requirement. Every image layout has a designated slot defined by CSS. If you serve an image with incorrect dimensions, the browser has to resize it dynamically, which can lead to layout shifts or pixel distortion. Pre-processing your images to the exact dimensions they will occupy on screen solves these performance issues before your users ever download the assets. This proactive approach optimizes both user experience and search engine rankings.
The Core Problem with Standard Cropping Tools
Most basic online tools force a two-step workflow: first you crop the image, and then you resize it. Each step represents a distinct operation where image interpolation is applied. When you crop, the utility isolates a pixel boundary from the source file. If you then pass that cropped file through a separate scaling tool, the software must recalculate the pixel grid again. This double-interpolation process frequently degrades sharpness and introduces artifacts, especially around high-contrast edges and text.
Furthermore, traditional tools often upload your files to remote servers to perform the operations. This introduces latency, wastes bandwidth, and raises privacy concerns if you are working with sensitive mockups, personal photos, or proprietary assets. A professional workflow demands a tool that executes both operations simultaneously and does so completely inside your local browser sandbox. This ensures that only your computer processes the image content.
Why You Need an Advanced Image Cropper in Modern Workflows
Using a unified utility that handles both cropping and dimension configuration at the same time guarantees that pixel resampling occurs exactly once. When you define your crop boundaries and target output dimensions, the system calculates the relationship between the source pixels and the destination grid, rendering a clean output in a single pass. Our browser-based cropping tool solves this by running all pixel calculations locally via the HTML5 Canvas API, ensuring that your source quality is preserved to the maximum extent.
By executing these calculations in the browser, you gain several operational advantages:
- Zero Latency: Because there are no file uploads, processing starts immediately, even for large camera files.
- Complete Privacy: Your source images never leave your local machine, conforming to corporate security and data safety guidelines.
- Precise Aspect Ratio Lock: Lock standard ratios like 16:9, 4:3, or 1:1, or define custom dimensions to ensure layouts remain stable.
How to Crop and Scale Images Step-by-Step
To get started, navigate to the advanced image cropper tool on our platform. The tool is designed to be intuitive, executing all scaling and alignment operations dynamically.
Follow these steps to prepare your visual assets:
Cropping and Resizing Guide
- Upload the Source: Drag and drop your image file into the drop zone or click the file picker to select a local file.
- Configure Aspect Ratio: Select a preset ratio from the drop-down (e.g., 16:9 for banners, 1:1 for social posts) or select custom mode to drag boundaries freely.
- Define Crop Area: Use the bounding box handles to frame the exact portion of the image you want to keep. You can drag and reposition the crop frame.
- Set Target Output Dimensions: Enter the target width and height in pixels. The tool will automatically lock the aspect ratio if the lock option is toggled, preventing squash and stretch distortion.
- Export with Quality Preservation: Click the export button to render the output image. The file will be saved directly to your local downloads folder.
This workflow eliminates the typical guesswork associated with layout design. By cropping to the exact aspect ratio and output dimensions required by your design files, you prevent layout shift and maintain maximum visual crispness.
Under the Hood: Client-Side Canvas Rendering
The tool processes image files using the browser's 2D canvas context. When an image is loaded, the application reads the file as an image object and determines its native dimensions. A temporary canvas is then instantiated in memory to perform the drawing operations.
By utilizing the drawImage API, the program specifies the crop coordinates on the source image and scales them directly to the destination canvas size. The snippet below demonstrates a basic implementation of this client-side resampling process:
// Client-side canvas cropping and scaling routine
function renderCroppedImage(sourceImg, cropX, cropY, cropW, cropH, targetW, targetH) {
  const canvas = document.createElement("canvas");
  canvas.width = targetW;
  canvas.height = targetH;
  const ctx = canvas.getContext("2d");

  if (ctx) {
    // Enable high-quality image smoothing
    ctx.imageSmoothingEnabled = true;
    ctx.imageSmoothingQuality = "high";

    // Draw the specified crop coordinates at the target dimensions
    ctx.drawImage(
      sourceImg,
      cropX, cropY, cropW, cropH, // Source boundaries
      0, 0, targetW, targetH      // Destination boundaries
    );
  }
  return canvas.toDataURL("image/jpeg", 0.92);
}
This client-side execution path guarantees that the original file data is processed directly inside your browser cache. The output can then be downloaded immediately without passing through external servers, resulting in rapid processing speeds and ironclad security.
Optimizing the Output File Size
While adjusting boundaries and scale settings ensures that your visuals conform to design specifications, the resulting file might still be larger than necessary for web distribution. To achieve optimal performance, it is helpful to follow a complete optimization sequence.
After using the image cropper to set dimensions, you can further compress your assets to reduce download sizes. For instance, you can use the ToolMars Image Compressor to strip metadata and optimize pixel density without losing visible clarity. If you need to make bulk dimensional adjustments without custom cropping regions, the ToolMars Blog Image Resizer is another excellent tool to incorporate into your preparation workflow.
Frequently Asked Questions
Q: Does the cropping process compress my images?
A: No, the crop tool focuses purely on bounding boxes and dimensional scale. To shrink file size further, pass the exported image through a dedicated compressor.
Q: Is my image data sent to any servers?
A: No, the application runs entirely in-browser. All image manipulation and canvas rendering happen locally on your computer, meaning your files are never uploaded or shared.
Q: Can I define a custom aspect ratio?
A: Yes, you can choose custom mode to drag boundaries freely without constraint, or enter target dimensions to lock standard and non-standard ratios.
Q: What image formats are supported?
A: The cropper supports all major image formats that web browsers can render, including JPEG, PNG, WebP, SVG, and GIF.