Designing Brand-Consistent Code Assets with a QR Code Designer
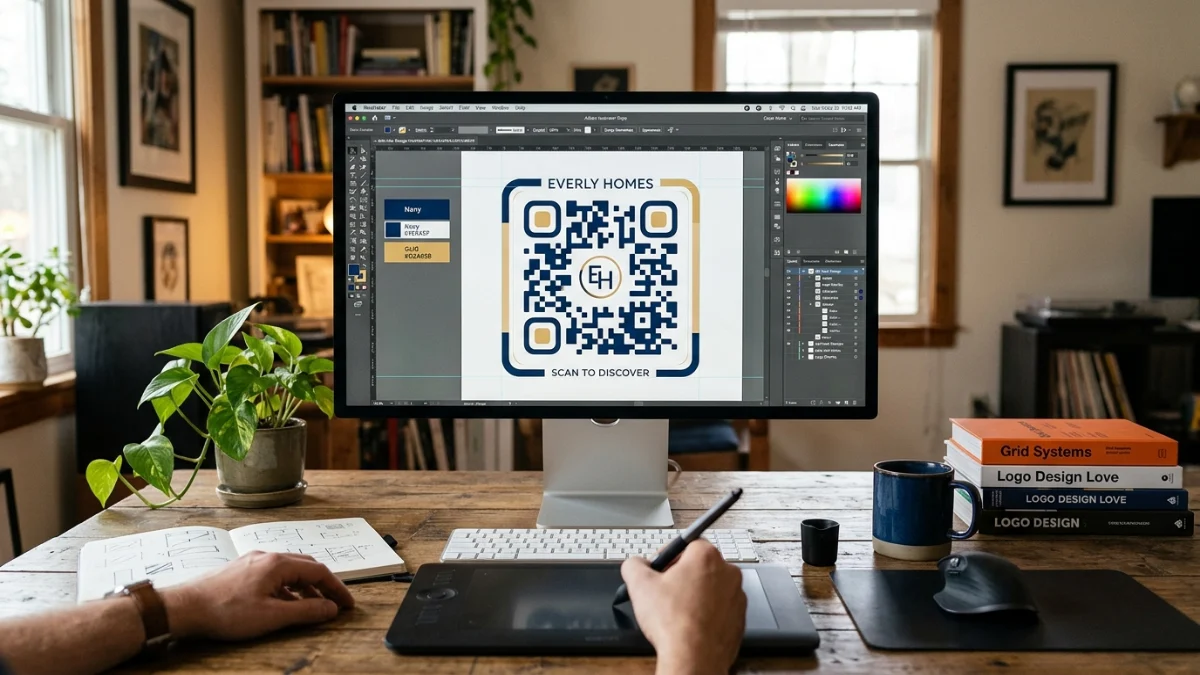
When integrating physical assets with digital destinations, marketers and developers frequently face the challenge of visual fragmentation. A standard black-and-white pixel grid is no longer sufficient; using a custom qr code designer allows you to align security elements with your brand aesthetic. Transforming a cold, mechanical barcode into a designed visual asset increases brand recall and boosts scan rates. A well-designed code signals to users that the destination is professional and safe, separating your visual content from spam or untrusted links.
Standard QR codes are often treated as an afterthought in digital design workflows. Designers frequently spend hours perfecting a print layout or packaging mock-up, only to paste a harsh, default black-and-white square in the corner. This aesthetic mismatch disrupts the user journey, creating visual friction that can deter engagement. If your product packaging features organic tones or a sleek dark theme, a stark white block with default styling breaks the design language entirely.
Furthermore, generic QR tools often upload input links to external redirect servers. This introduces a middleman that adds latency, presents security vulnerabilities, and risks link rot if the third-party service shuts down. From a performance and security perspective, a professional pipeline requires generating high-resolution, static codes directly within a local browser environment. By rendering vector outputs or crisp raster files client-side, you retain total ownership over the target destination while keeping customer navigation paths private and secure.
Selecting the Right QR Code Designer for Brand Consistency
Choosing a tool that balances creative customization with technical compliance is critical for successful campaigns. A professional builder should allow fine-grained control over foreground and background hex values, enabling you to select shades that perfectly match your corporate brand identity. However, altering color palettes introduces technical hurdles that must be addressed to ensure compatibility across diverse devices.
The primary technical consideration when adjusting code colors is contrast. QR scanners rely on distinguishing dark modules from light modules. If the contrast ratio is too low, the camera sensor will fail to detect the alignment patterns, rendering the code unscannable under poor lighting conditions. It is a best practice to maintain a contrast ratio of at least 4:1 between the background and foreground modules. Generally, keeping the background light and the foreground dark is the safest configuration, as some legacy scanner applications struggle to parse inverted (light-on-dark) matrices.
Understanding QR Code Error Correction Levels
QR code architecture relies on Reed-Solomon error correction to handle physical damage, smudging, or custom styling overlays. This built-in redundancy is divided into four standard levels:
- Level L (Low): Recovers approximately 7% of missing or corrupted data. This level creates the cleanest, least dense pixel grid, which is excellent for basic, high-contrast print layouts.
- Level M (Medium): Recovers about 15% of corrupted data. This is the default setting for most standard applications, offering a solid balance between data density and scan resilience.
- Level Q (Quarter): Recovers approximately 25% of corrupted data. This level is highly recommended when codes are printed on curved surfaces, like bottles or cans, where warp and reflection skew scanner perspective.
- Level H (High): Recovers up to 30% of corrupted data. Level H is crucial if you intend to place branding logos in the center of the grid or style the modules with complex gradient patterns.
Increasing the error correction level adds more modules (dots) to the grid, making the overall pattern denser. If your target URL is long, combining a high error correction level with a long string will result in a highly complex grid that might be difficult for older cameras to resolve. To prevent this, developers should use concise URLs or clean subdomains to keep the underlying payload light and easy to decode.
Step-by-Step Guide to Customizing Your QR Code
To begin generating your branded assets, open the ToolMars QR Code Designer in your browser. The tool runs entirely on your client machine, ensuring rapid processing and complete privacy.
Follow these steps to produce your customized assets:
Optimization Checklist
- Input the Target URL: Enter the exact destination URL in the input field. Ensure the URL is fully qualified, including the correct protocol identifier.
- Select Brand Colors: Choose your background and foreground colors using the hex input fields. Keep color contrast in mind to ensure optimal scan readability.
- Configure Error Correction: Adjust the error correction dropdown based on your use case. Choose higher correction levels if the code will face physical wear or curved printing surfaces.
- Generate and Download: The QR matrix will update dynamically in real time. Once satisfied, click the download button to save a high-resolution PNG file instantly.
Once your file is downloaded, it is highly recommended to verify its readability before committing to production print runs. You can test your file by uploading it to the Universal QR Reader on ToolMars. Testing the code across multiple hardware screens and physical prints ensures that the customized color profiles scan successfully.
Under the Hood: Rendering QR Matrices to Canvas
Modern custom generators perform all mathematical matrix compilation inside the client's web browser. When you click generate, the library creates a two-dimensional array representing the QR modules (where a value of true represents a filled module, and false represents an empty one). The browser then initializes a canvas element and loops through the matrix to render individual modules using custom color fills.
The following TypeScript function illustrates how a local script translates a binary QR matrix into a styled visual image:
// Client-side QR rendering using HTML5 Canvas
function drawQRToCanvas(matrix: boolean[][], size: number, fgColor: string, bgColor: string): HTMLCanvasElement {
  const canvas = document.createElement("canvas");
  canvas.width = size;
  canvas.height = size;
  const ctx = canvas.getContext("2d");

  if (ctx) {
    // Fill the background canvas
    ctx.fillStyle = bgColor;
    ctx.fillRect(0, 0, size, size);

    const modulesCount = matrix.length;
    const moduleSize = size / modulesCount;

    // Loop through the matrix to render each filled module
    for (let r = 0; r < modulesCount; r++) {
      for (let c = 0; c < modulesCount; c++) {
        if (matrix[r][c]) {
          ctx.fillStyle = fgColor;
          // Calculate coordinates with slight overlap to prevent gaps
          ctx.fillRect(
            Math.floor(c * moduleSize),
            Math.floor(r * moduleSize),
            Math.ceil(moduleSize),
            Math.ceil(moduleSize)
          );
        }
      }
    }
  }
  return canvas;
}
This approach offers two major benefits: speed and isolation. Processing occurs instantly on your local device without sending URLs or content payloads over the network, providing security for internal links and confidential endpoints.
Frequently Asked Questions
Q: Why does my scanner fail to read a custom colored code?
A: The most common cause is low color contrast between the background and foreground modules. Ensure the background is light and the foreground is dark for optimal camera recognition.
Q: Does the generation tool track my scan data?
A: No, the generator produces static QR codes where the target URL is encoded directly into the pixel structure. There are no redirects or external servers tracking your users.
Q: Which error correction level is best for physical marketing materials?
A: Level M (Medium) is standard for most print ads, but if the materials will be placed on curved surfaces or outdoors where physical damage is possible, choose Level Q or Level H.
Q: Can I use gradients or complex textures in my design?
A: While gradients can look appealing, they often cause scanners to fail by distorting module boundaries. For maximum reliability, use solid colors with clean, distinct borders.