Image Compressor Guide: Shrink JPEG, PNG & WebP Locally
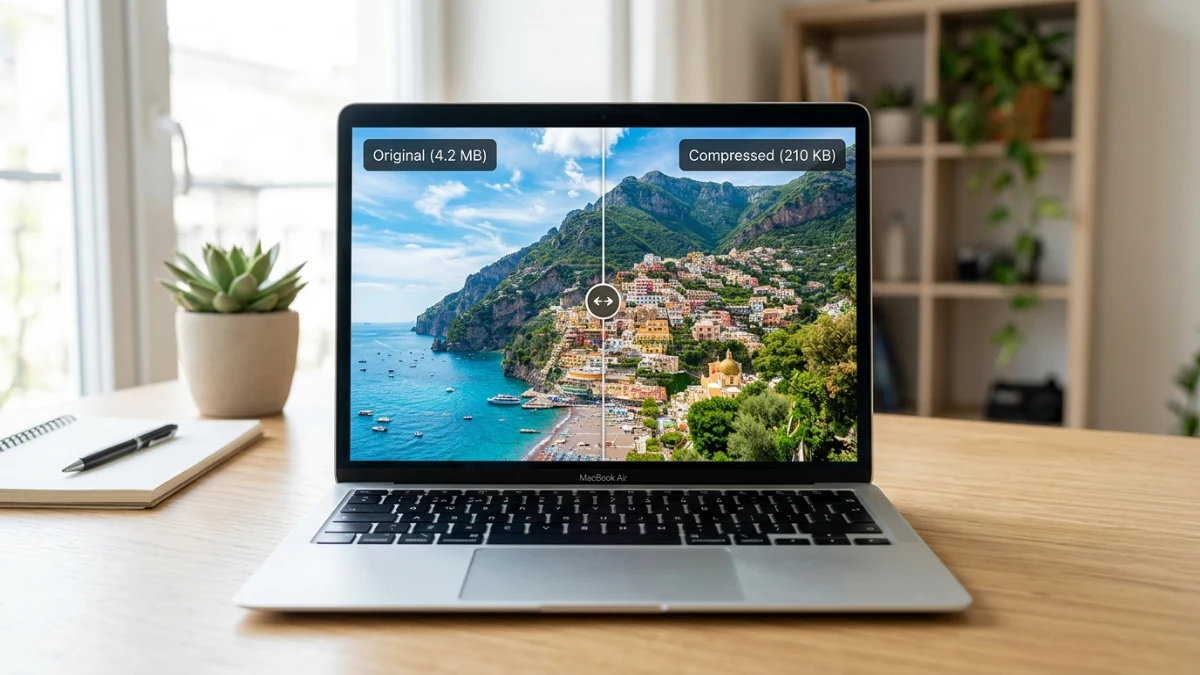
High-resolution visuals slow page loads and hurt Core Web Vitals. A browser-based image compressor shrinks JPEG, PNG, and WebP files locally — adjust quality in real time and export optimized assets without uploading to the cloud.
Shrink JPEG, PNG & WebP without server upload
Free image compressor — real-time preview, batch ZIP export, 100% private.
Understanding the Mechanics of Lossy and Lossless Compression
Image optimization relies on two primary methodologies: lossy and lossless compression. Lossless compression, typically used for PNG files, reduces file size by identifying and eliminating redundant data structures without altering a single pixel. This is perfect for graphics with solid colors, text, or sharp boundaries, such as logos or screenshots. However, the compression ratio for lossless formats is naturally limited.
Lossy compression, which is the standard for JPEG and WebP formats, achieves significantly larger file size reductions by removing less critical visual detail that the human eye cannot easily perceive. It does this through quantization, which groups similar colors and drops subtle color variations. Modern algorithms, especially WebP, combine elements of both techniques, offering superior compression efficiency. WebP files are typically 25% to 34% smaller than equivalent JPEG files at the same quality index.
Choosing the right compression level requires balancing visual fidelity against file size. Setting the quality too low introduces blocky artifacts and color banding, particularly in smooth gradients or around sharp text. Conversely, setting the quality too high results in unnecessarily large files. Finding that sweet spot—usually between 75% and 85% quality—yields maximum file size savings with zero noticeable visual degradation.
Why a Local Image Compressor is Vital for Modern SEO
Search engines like Google use page speed as a primary ranking signal, measured through Core Web Vitals. Specifically, Largest Contentful Paint (LCP) tracks how long it takes for the largest visual element on the screen to load. In most cases, the LCP element is a hero image or banner graphic. If this image is unoptimized, your LCP score drops, dragging down your search rankings.
Using a local tool helps you achieve optimal LCP scores by shrinking visual assets to a fraction of their original size before deployment. Beyond SEO, performance directly impacts conversion rates; even a one-second delay in page load time can reduce conversions by double digits.
Furthermore, traditional optimization platforms process your graphics on remote servers. This introduces a security risk when working with proprietary interfaces, draft mockups, or sensitive documents. An in-browser utility resolves these privacy issues. Because the file processing occurs entirely inside the client’s sandboxed environment, no data is transmitted over the network, ensuring complete confidentiality.
Step-by-Step Guide to Compressing Your Assets
Preparing your assets for production is straightforward when using the right workflow. The ToolMars Image Compressor enables you to optimize files in bulk or individually.
Follow these steps to prepare your visual assets:
Key Compression Guidelines
- Upload Source Files: Drag and drop your JPEG, PNG, or WebP images into the upload area or select them using the file selector.
- Adjust Compression Level: Use the slider to select your desired target quality. A level between 75% and 85% is recommended for web assets.
- Monitor Real-Time Size: The tool displays the calculated output size and saving percentage before download.
- Export Optimized Files: Download the compressed files individually or package them together into a single ZIP archive.
Using this workflow allows you to optimize multiple media assets rapidly without repetitive steps. The local processing loop updates the compressed file sizes instantly, allowing you to fine-tune quality settings on the fly.
Technical Breakdown: Browser-Based Canvas and Blob Compression
Our client-side compression tool is built using the HTML5 Canvas API and the native toBlob method. When an image is dropped into the interface, it is loaded into an HTML Image object. A canvas context is then created, and the image is drawn onto the grid.
To perform the actual compression, we call the canvas.toBlob function, passing the target mime-type (such as image/jpeg or image/webp) and a quality multiplier between 0.0 and 1.0. The browser’s rendering engine applies its internal compression algorithms to output a binary Blob object. Below is a simplified representation of this browser-based execution pattern:
// Browser-based canvas blob compression implementation
function compressCanvasImage(canvas, mimeType, qualityValue) {
  return new Promise((resolve, reject) => {
    canvas.toBlob(
      (blob) => {
        if (blob) {
          resolve(blob);
        } else {
          reject(new Error("Compression failed"));
        }
      },
      mimeType,
      qualityValue // Quality multiplier (e.g. 0.8)
    );
  });
}
Using the asynchronous toBlob method ensures that the browser main thread remains unblocked while the image processor handles high-resolution data. The resulting Blobs are then converted to local object URLs for immediate user downloading.
Integration with Other Optimization Workflows
Image compression is only one phase of a modern media asset pipeline. Often, you will need to perform other operations before or after compression. For example, if you have legacy formats like TIFF or BMP, you can use the Batch Image Converter to convert them to WebP or JPEG first. If you are preparing assets specifically for a content management system or layout grid, the Image Resizer helps you set correct dimensional boundaries. Combining these utilities ensures your website’s media is both small in byte size and perfectly sized for its container.
Shrink JPEG, PNG & WebP without server upload
Free image compressor — real-time preview, batch ZIP export, 100% private.
Bottom Line: Compress After You Size
Compression is the fastest win for LCP and page weight. Convert legacy formats with the batch image converter, resize with the image resizer, then compress. For editorial assets, see the blog image prepper guide.
Frequently Asked Questions
Q: What formats does this tool support?
A: The tool supports JPEG, PNG, and WebP formats. It can convert input files to any of these outputs during compression.
Q: Will my images lose visual clarity?
A: When using recommended settings (75%-85%), the quality loss is virtually invisible to the human eye, while the file size is reduced by up to 80%.
Q: Is there a file size limit?
A: Since processing occurs entirely in your browser using local RAM, there are no server-imposed limits, though extremely large files may take a moment to process.
Q: Does the tool upload my images to a server?
A: No, your files are processed completely locally in the browser sandbox. No image data is ever sent to our servers.